
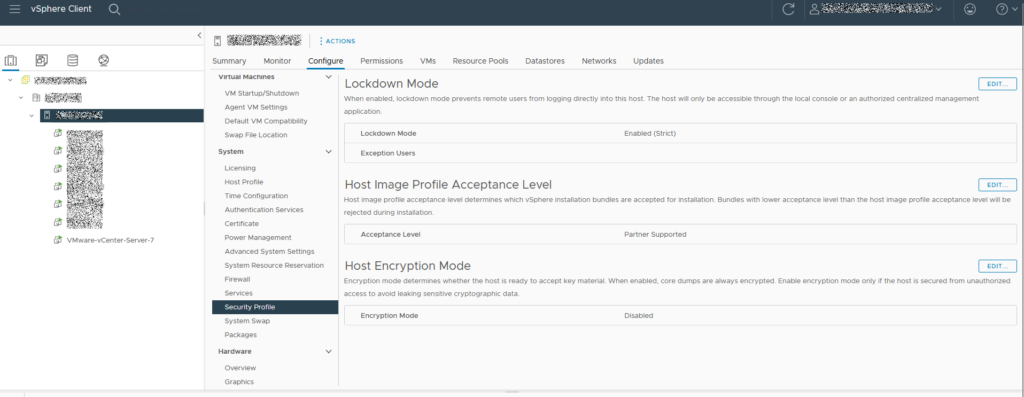
vSphere 7 – ESXi 7.03 Lock down Mode
Login to vSphere, select your host > Configure. On the left menu scroll to System and select “Security Profile”.
Clear Terminal Command History Permanently
cat /dev/null > ~/.bash_history && history -c && exitFixing cloud-init [1453]: – cc_final_message.py[WARNING]: Used fallback datasource
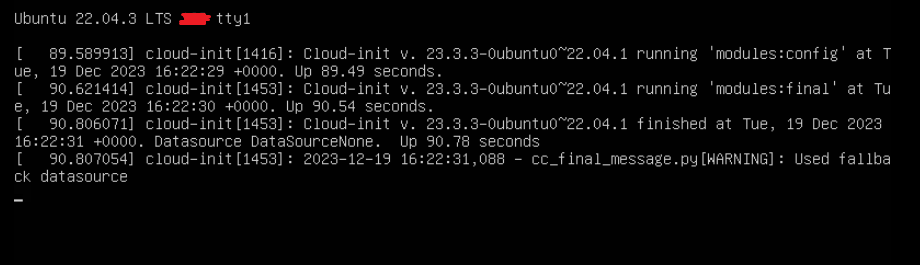
Depending on the server configuration, I’ve noticed at the end of the boot cycle Ubuntu throws this error:
cloud-init [1416]: Cloud-init v. 23.3.3-0ubuntu0~22.04.1 running ‘modules:config’
cloud-init [1453]: Cloud-init v. 23.3.3-0ubuntu0~22.04.1 running ‘modules:final’
cloud-init [1453]: Cloud-init v. 23.3.3-0ubuntu0~22.04.1 finished
Datasource DataSourceNone.
cloud-init [1453]: – cc_final_message.py[WARNING]: Used fallback datasource
You can disable this portion of the boot by typing:
sudo touch /etc/cloud/cloud-init.disabled
MOTD Not Loading On Login
Remove current installation:
sudo apt remove update-notifier update-notifier-commonInstall new:
sudo apt-get update -y
sudo apt-get install -y update-notifier-common
Change SSH Port Number
To help prevent/slow any brute force attacks while still having SSH enabled, its a good idea to change your SSH port from the default 22 to something at least 5 digits.
Install “netstat”:
sudo apt install net-toolsCheck to see current SSH port:
sudo netstat -tulnp | grep ssh
Check to see current sshd_config configuration:
grep -i port /etc/ssh/sshd_config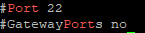
Open the sshd_config and search for: “#Port 22”
sudoedit /etc/ssh/sshd_config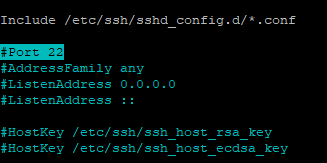
Uncomment and change the port number to your preference
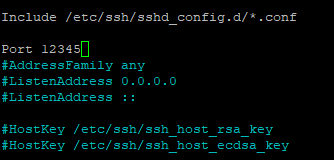
Save sshd_config and restart SSH service:
sudo systemctl restart sshdConfirm SSH daemon now listens to new port:
sudo netstat -tulpn | grep sshIf necessary add new port to firewall:
sudo ufw allow 12345/tcpRemove old ports:
sudo ufw status
sudo ufw status numbered
sudo ufw delete #Permission denied
After running command sudo docker stop <container> I received the below error.
ERROR:
Error response from daemon: cannot stop container: storagenode: permission deniedSOLUTION:
sudo aa-remove-unknownUpdating StorJ on Synology & Ubuntu
Shutdown
sudo docker stop -t 300 storagenodeStart
sudo docker start storagenodeList containers
sudo docker container lsUpdate Ubuntu
sudo apt update
sudo apt upgrade -y
sudo reboot
Set Synology to auto-update.
Setup Multiple StorJ Nodes on Synology
Quick Start Node Setup Documentation
- Get an authorization code:
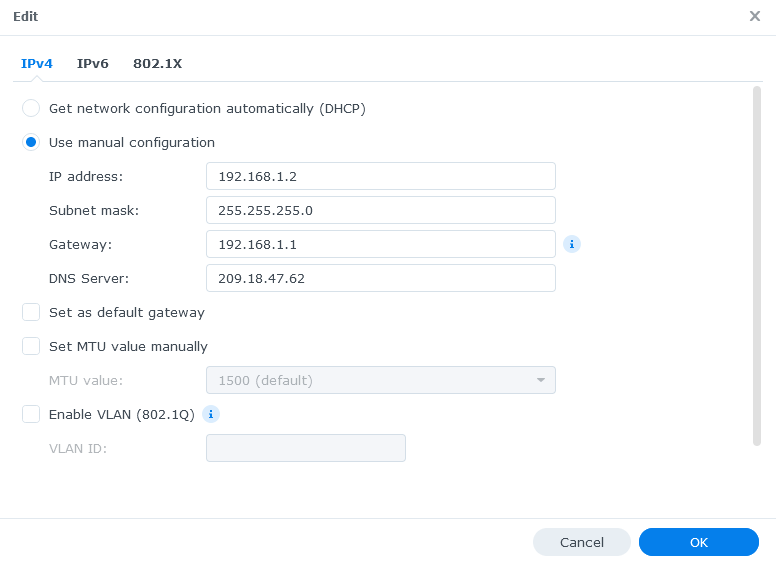
- Assign a local IP to your Synology NAS (this is not the same as your public IP)
- Control Panel > Network > Network Interface
- Forward ports on your router and assign those ports to your Synology NAS IP.
- Starting with 28967 TCP/UDP and 14002 TCP for your first node. Add 1 to each port for each additional node. For this example I will forward 28967-28968 TCP/UDP and 14002-14003 TCP
- Download the identity Binary
- Login to Synology through SSH using your normal credentials.
- Switch to root privileges
sudo -i- Switch to a working directory, I used: /volume1
- Download identity zip file
curl -L https://github.com/storj/storj/releases/latest/download/identity_linux_amd64.zip -o identity_linux_amd64.zip- Use “7z” to unzip the file
7z x identity_linux_amd64.zip- Continue following the StorJ Docs…
- Setup the node
CHMOD the StorJ data
sudo chmod -R 777 /volume1/storj/data/storageIf you’re running multiple containers, make sure to change the name of each container.
sudo docker run --rm -e SETUP="true" \
    --user $(id -u):$(id -g) \
    --mount type=bind,source="/volume1/identity/storagenode/",destination=/app/identity \
    --mount type=bind,source="/volume1/storj/data/storage/",destination=/app/config \
    --name storagenode storjlabs/storagenode:latest
For multiple nodes, use this command
sudo docker run -d --restart unless-stopped --stop-timeout 300 \
    -p 28968:28967/tcp \
    -p 28968:28967/udp \
    -p localNASIP:14003:14002 \
    -e WALLET="0x00000" \
    -e EMAIL="email@theabyss.dev" \
    -e ADDRESS="publicIP:28968" \
    -e STORAGE="#TB" \
    --user $(id -u):$(id -g) \
    --mount type=bind,source="/volume2/identity/storagenode/",destination=/app/identity \
    --mount type=bind,source="/volume2/storj/data/storage/",destination=/app/config \
    --name storagenode2 storjlabs/storagenode:latest