Quick Start Node Setup Documentation
- Get an authorization code:
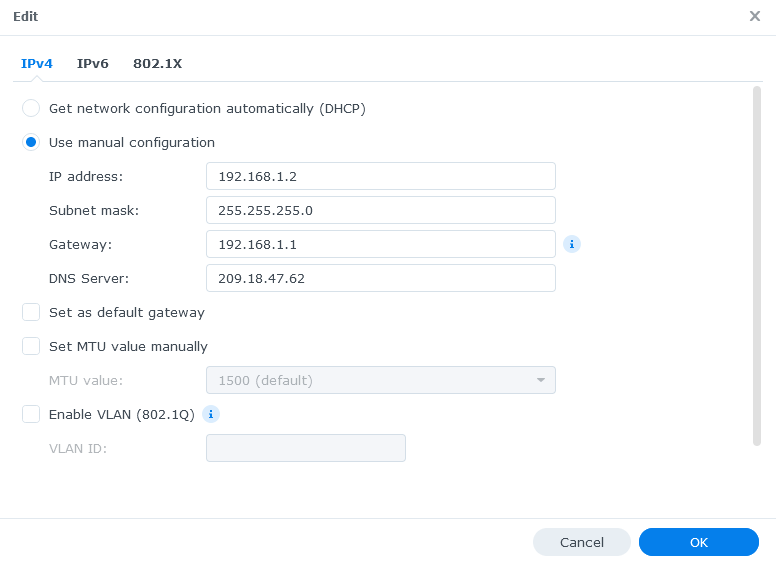
- Assign a local IP to your Synology NAS (this is not the same as your public IP)
- Control Panel > Network > Network Interface

- Forward ports on your router and assign those ports to your Synology NAS IP.
- Starting with 28967 TCP/UDP and 14002 TCP for your first node. Add 1 to each port for each additional node. For this example I will forward 28967-28968 TCP/UDP and 14002-14003 TCP
- Download the identity Binary
- Login to Synology through SSH using your normal credentials.
- Switch to root privileges
sudo -i- Switch to a working directory, I used: /volume1
- Download identity zip file
curl -L https://github.com/storj/storj/releases/latest/download/identity_linux_amd64.zip -o identity_linux_amd64.zip- Use “7z” to unzip the file
7z x identity_linux_amd64.zip- Continue following the StorJ Docs…
- Setup the node
CHMOD the StorJ data
sudo chmod -R 777 /volume1/storj/data/storageIf you’re running multiple containers, make sure to change the name of each container.
sudo docker run --rm -e SETUP="true" \
    --user $(id -u):$(id -g) \
    --mount type=bind,source="/volume1/identity/storagenode/",destination=/app/identity \
    --mount type=bind,source="/volume1/storj/data/storage/",destination=/app/config \
    --name storagenode storjlabs/storagenode:latest
For multiple nodes, use this command
sudo docker run -d --restart unless-stopped --stop-timeout 300 \
    -p 28968:28967/tcp \
    -p 28968:28967/udp \
    -p localNASIP:14003:14002 \
    -e WALLET="0x00000" \
    -e EMAIL="email@theabyss.dev" \
    -e ADDRESS="publicIP:28968" \
    -e STORAGE="#TB" \
    --user $(id -u):$(id -g) \
    --mount type=bind,source="/volume2/identity/storagenode/",destination=/app/identity \
    --mount type=bind,source="/volume2/storj/data/storage/",destination=/app/config \
    --name storagenode2 storjlabs/storagenode:latest